How to make Large hoops!
*these hoops are slower & more stable
**perfect for beginners, but great for everyone
Materials:
Tubing: 100' 1" 100psi black roll from Lowe's ADS Plastic Coil Pipe. I purchase this at Lowes
1" insert couplings to connect the hoops, usually 7-8 are needed per roll (they come in discount packs of 10). They are gray with ridges. These are becoming increasingly difficult to find, unfortunately.
PVC cutter
All the large hoops I make are approximate sizes. I initially used a tape measure to figure out where different heights line up on my body. For an exact size, multiply the desired height x pi (3.1416) & this will give you how many inches of tubing to cut. The roll of black tubing will be tightly coiled. Unwrap the tubing & let it "breathe" by stretching it out a bit manually. You can even leave it for a few days or longer to make it easier to work with the tubing. I rarely have to do this, but some rolls of tubing are coiled tighter than others.
From one roll of tubing I can usually make 7-8 hoops---2 large hoops (approx 50" tall) & 6 medium-large hoops. 40”-48”. Hoops even larger than that can be fun, but for hoops smaller than 40" I would recommend switching to 3/4” tubing or smaller.
Find the end of the roll that is more loosely open...make the 2 large hoops first, then the other 6. Or all 8 can be made in the medium-large size, it's just best to make them in order from larger to smaller. I usually make all 8 hoops at the same time, but you don't have to. If you want to leave the rest of the tubing intact until you know what size you need, just tape the ends of the tubing to the roll so they don't straighten out too much.
Cut off the end part of the tubing if it has straightened out, often 1'-2'.
Cut the tubing to the desired length.
Place one end of the cut tubing into a pan of lightly boiling water for approx 20 -30 seconds.
Wipe dry with a paper towel & then insert the connector halfway.
Repeat on the other end & you'll have a hoop!
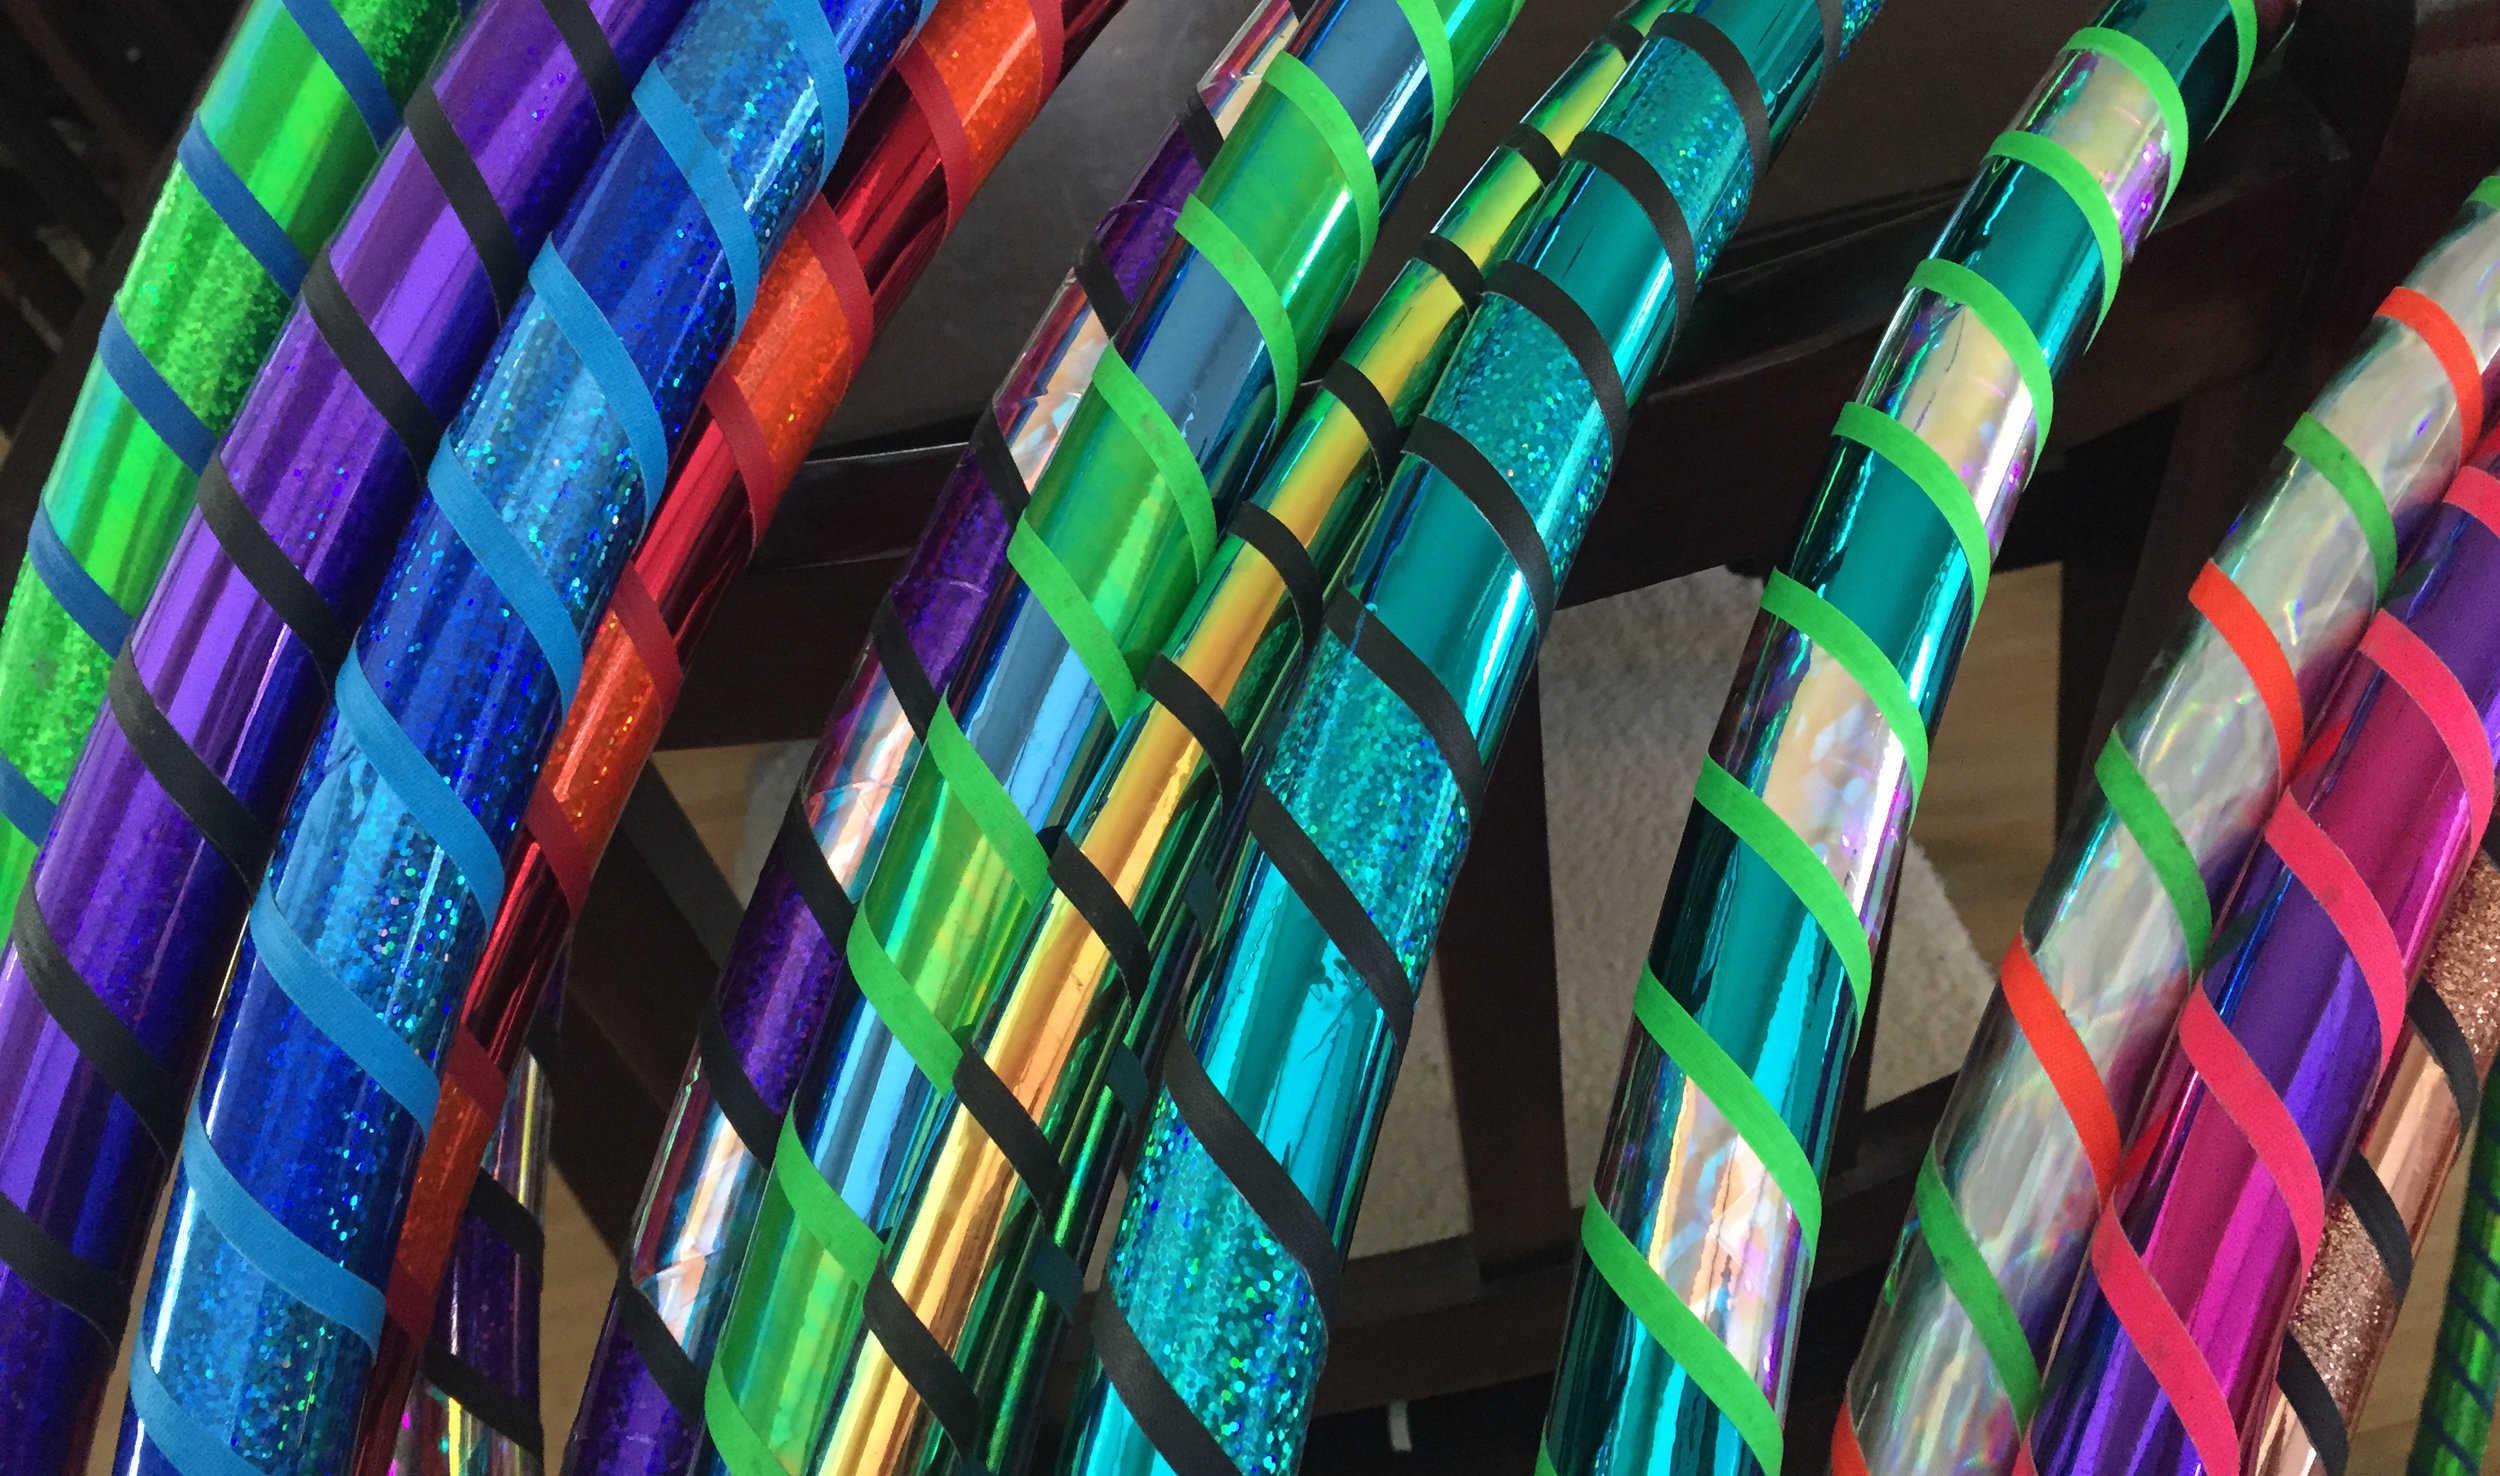
*Tape is still necessary to add weight & texture (so the tubing doesn't slide right off of you!) Hoopologie.com is where I get most of my tape. The cheapest way to tape your hoop is to use a layer or two of gaffer (grip) tape in any size & then spiral wrap it, leaving some space in between. This allows the black of the tubing to show, it’s not necessary to fully cover the tubing for this style of taping. Grip tape is also easy to replace when it gets damaged or dirty. I use this method for outdoor practice hoops & also to have an inexpensive option when selling hoops.
*Directions for my nicer hoops. I tend to use fancy tape first (sequin, mirror, prismatic, glitter, color-shifting...so many options!), then I tape over the edges of that tape with gaffer tape (for grip & to protect the nicer tape). Most of the fancy tapes with paper backing have a sharp edge, so layering gaffer or vinyl tape over the edges keeps your hoop from feeling scratchy.
*If you use electrical tape or another thick tape, you shouldn't cover all the tubing or the hoop can become too heavy.
*You can use duct tape for simple taping & it has a natural grip.
Good luck! Please contact me if you have any questions!